
Instructions:
- MIDIJACK II installation in Korg Mini-Korg 700 or 700s.
- Please note that I installed my MIDIJACK II with NO bypass wires. I did this simply because the Mini-Korg keyboards I have played have corrosion on the contact wires (in a difficult-to-clean place) which causes some wrong notes when playing grace notes or very lightly. I felt it best to play via MIDI only.
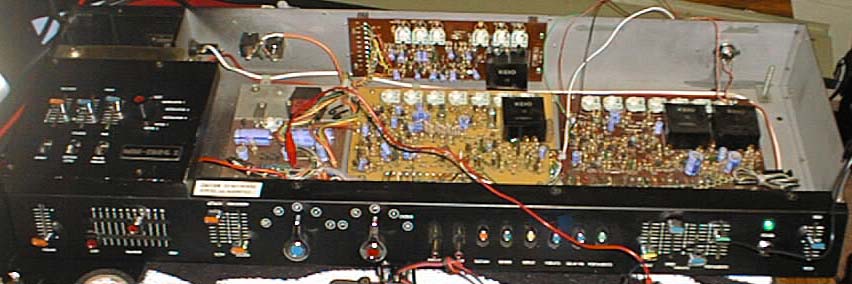
- Locate oscillator board, shown in pic korg001.jpg as the lighter colored board in the middle, labeled SB-019:
- Solder MIDIJACK #1 black wire to contact 40 GND. Do not disconnect existing black wire.
- Solder MIDIJACK #2 red wire to contact 37 +VCC. Do not disconnect existing red wire.
- Desolder the gray wire from contact point 38, solder MIDIJACK #6 green wire to pin 38. Tape and secure gray wire.
- Locate the 3.9K resistor shown in pic korg004.jpg with the MIDIJACK #4 white wire attached:
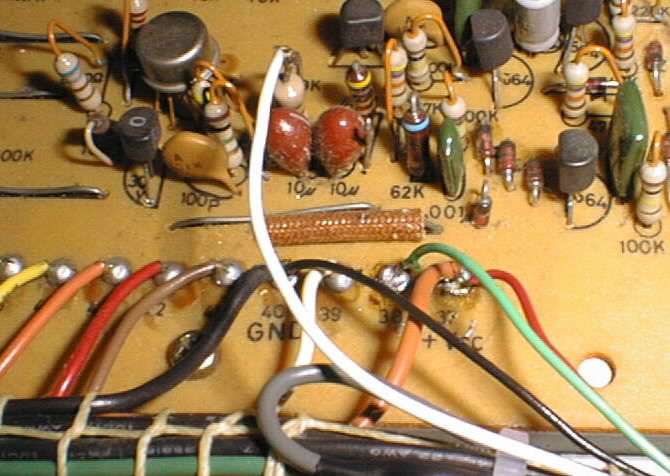
- The board has a silkscreened triangle under the resistor. Solder the MIDIJACK #4 white wire on the upper lead, the side on the top of the triangle.
- Locate the 4.7K resistor just to the right of the MIDIJACK #4 white wire (NOT the 47K which is nearby). It will have an upside-down triangle on the board. Cut the lead in half with wire cutters.
- Desolder the brown wire from the keyboard assembly, tape and secure it.
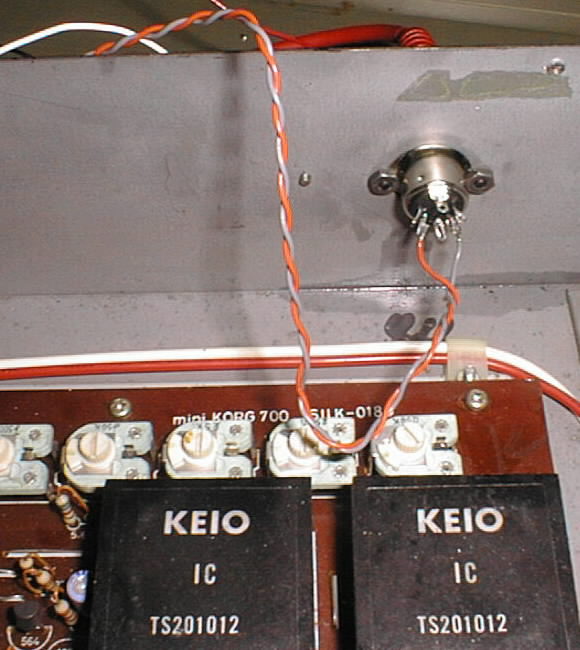
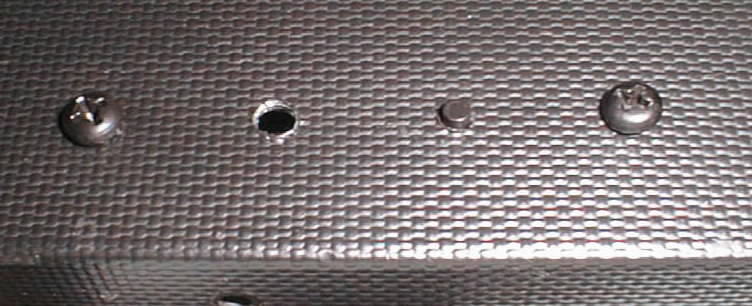
- Refer to pic korg005.jpg for a look at how I mounted the MIDI input DIN jack on the rear of the Mini-Korg:
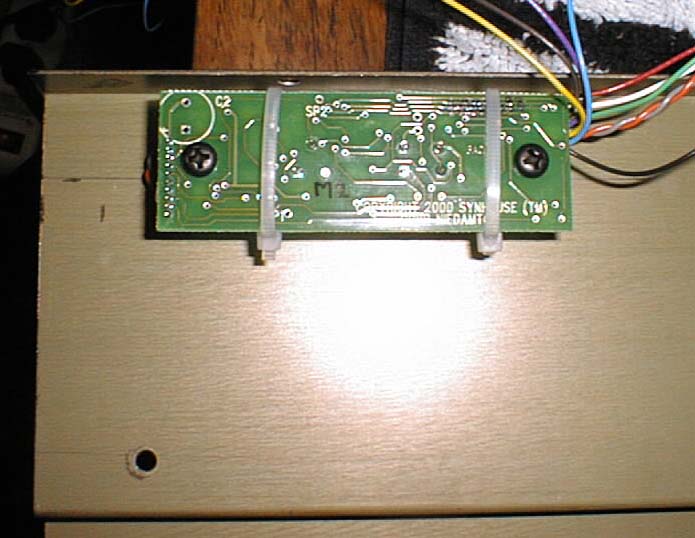
- Refer to pic korg006.jpg for a look at how I mounted the MIDIJACK circuit board on the rear case top:
- Refer to pic korg007.jpg for a look at how the completed MIDI control panel looks on the Mini-Korg:
- I would recommend saving some room on the cover in case you want to add some other mods to the synth - this black cover is an ideal place to add hardware.
- Button up the rest of the installation but leave the cover off. Power up and check it. Once you have MIDI In, play in unison with another synth. Tune C4 using the external tuner slider. If you are out of range, use the internal 5K pot on the oscillator board (2nd from the right) to bring it in tune.
- Now play C2, C1 and C5 - if they are not in tune, then locate the single pot on the voltage board (leftmost). Connect a VMM between the orange wires and chassis ground. Play C4 and check the voltage. It should be somewhere around 20V, but adjust between that pot and the 5K osc board pot to bring it in tune, linearly across the keyboard. I had to drop my 20.7 volts to 20.4 volts after the MIDIJACK II installation and keyboard removal.
Copyright © 7/29/2001 Synhouse Multimedia Corporation