Instructions:
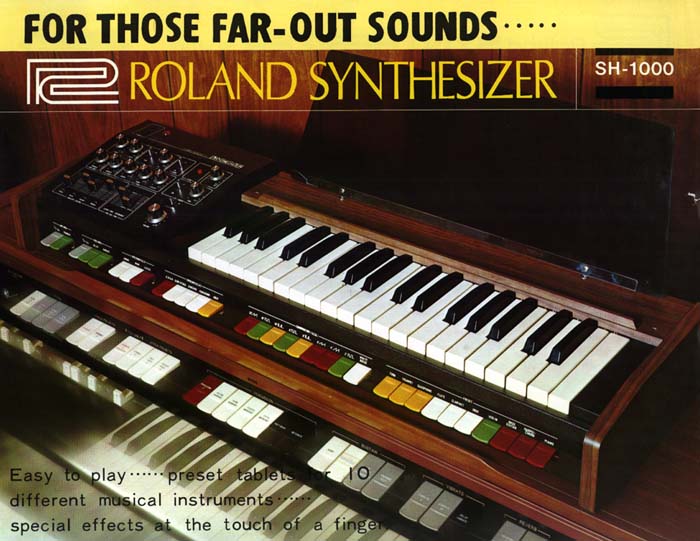
MIDIJACK works in a Roland SH1000! I
hope that the pictures I sent you can help you to create a guide of how
to install MIDIJACK in a SH1000. The summary of the installation
is:
- CV very easy to connect, but MIDIJACK PCB has to be modified by bypassing R21. Solder a tiny piece of jumper wire across R21 so there is no resistance there anymore. (Note from Synhouse: This PCB modification or any other voids the Synhouse factory warranty, but if you specify your intention to do the SH-1000, Synhouse Factory Installation services will do this tiny modification for you for free, saving the warranty coverage. Ask for it in the NOTES box when ordering online.)
- After installation MIDIJACK best is tuned down 3 octaves, using the -36 setting of the MIDI Transpose Select Mode, because the SH1000 CV is only linear adjustable between 0.2 and 5.6 V (1.8V/Oct). I didn't reach to adjust the SH1000 for more as those three octaves. Although MIDIJACK went higher SH1000 went completely out of pitch. When adjusted, the bypassed keyboard is bad tuned, because of the 0.2V offset, but for internal keyboard use this can be tuned with the tunepot.
- Power for the MIDIJACK very easy to find. Several points can be found by using the Layout plan and the Schematic that I sent you.
- Gate can not directly be connected. An additional circuitboard has to be designed, but its ultra lowcost.
- To install gate, two tracks have to be cut.
- To bypass CV MIDIJACK can be used. (Note from Synhouse: It would be best not to use the built-in MIDIJACK bypass circuit at all, but rather a DPDT switch so the CV and gate bypassing occurs simultaneously with a flick of the switch.)
- To bypass Gate a mechanical dual switch has to be used.
- Mounting the MIDIJACK PCB in the SH1000 back is a little bit tricky because there is 1cm wood everywhere. In the front is not enough space and in the back panel neither.
- Therefore some special holes have to be made to make the MIDIJACK switch come through the back of the SH1000.
They look like this: ______
\______
inside outside
______
______/
- I hope this becomes clear :-)
- Installation time, without having problems... probably one could do it within 2 hours
- Additional costs: Not to be mentioned.
- Additional challenge: Exactly as much for having as much fun as possible.
- Additional fun: It was good fun, Synhouse support is great.
- My SH1000 has MIDI now. My father once bought the SH1000, around 1980 or earlier. Later he didn't use it anymore and gave it to me. Yesterday I showed him the SH1000 controlled by cubase, he thought he couldn't see right. He only believed that the SH1000 was sounding, when he turned the knobs...
Copyright © 10/7/2002 Synhouse Multimedia Corporation